views
Disabling File and Printer Sharing
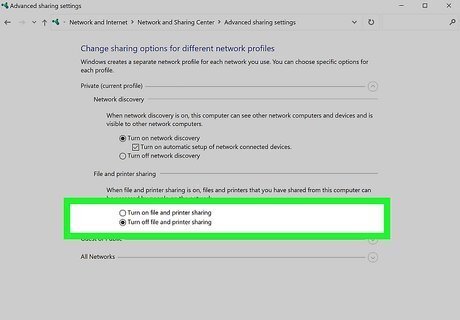
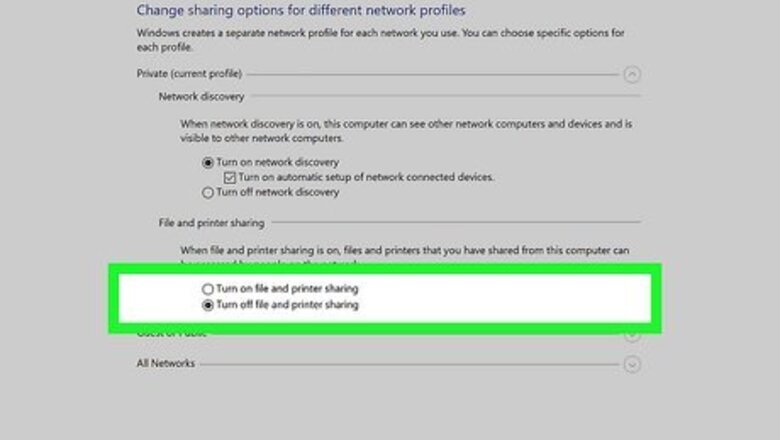
Stop sharing your printer with other users on the network. If you have a printer, you may unknowingly be sharing it with others. Fortunately, it's easy to disable printer sharing in your settings. Windows: In the Control Panel, click Network and Internet and then Network and Sharing Center. Click Change advanced sharing settings and then choose Turn off file and printer sharing. macOS: Click the Apple menu and go to System Preferences… > Sharing. Remove the checkmark next to "Printer" to stop sharing your printer.
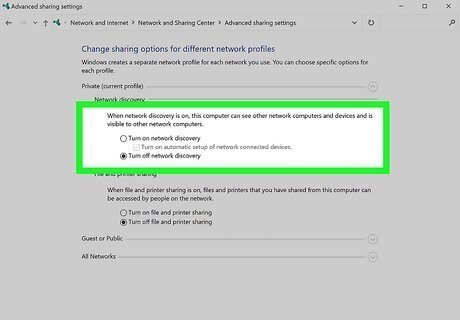
Check your network file sharing settings. If your PC or Mac is set up to share files over the network, people who are connected to the same Wi-Fi or wired network as you may be able to access certain files on your computer. To disable file sharing: Windows: Turning off printer sharing in the Network and Sharing Center also turns off file sharing for Windows 10 and 11. But you can go a step further and make your PC undiscoverable—in Control Panel > Network and Internet > Network and Sharing Center, click Change advanced sharing settings, and then choose Turn off network discovery. macOS: Click the Apple menu and go to System Preferences… > Sharing. Remove the checkmark from "File Sharing" to stop sharing all files, or check the list of users in "Users & Groups" to remove access for certain users only.
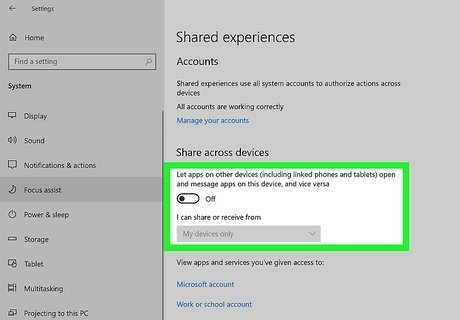
Turn off Nearby Sharing in Windows. If you're using Windows 10 or 11, there's a feature on your PC that lets you share files with other users nearby. If you don't want other people to be able to send files directly to your computer while nearby, you can disable Nearby Sharing: Windows 10: In the Windows menu, go to Settings > System > Shared experiences and select Off. Windows 11: In the Windows menu, go to Settings > System > Nearby Sharing and choose Off.
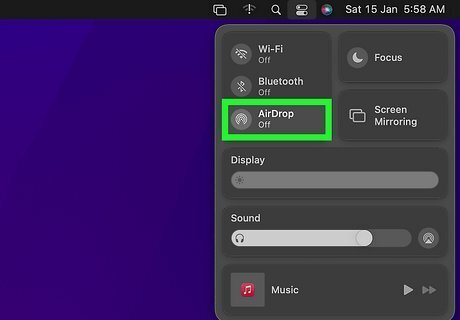
Turn off AirDrop on your Mac. When AirDrop is enabled on your Mac, other people can wirelessly send documents and other files to your computer when nearby. To disable AirDrop: Click the Control Center icon at the top-right corner of the screen (the two sliders). If the AirDrop icon is blue, click it to turn off AirDrop.
Running a Malware Scan
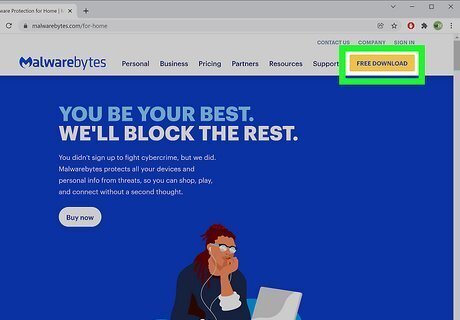
Choose your anti-malware program. There are dozens of programs you can choose from. Many are free, but if you’re willing to pay, you can get more advanced security. All of them can run a scan that detects a large majority of threats to your computer. The more advanced programs allow you to do a custom scan. Whichever scanning program you choose, make sure it scans your registry objects. This is where you will first see problems with a hacker. Memory, startup, filesystem, and heuristic areas are also important in your scan.
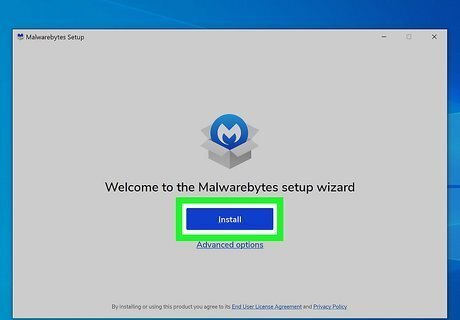
Install your program. Some have system pre-requisites, be sure that you use one that matches with your computer and system model. The pre-requisites will be listed before you download or install anything. If your computer doesn’t recognize the program, you’ve likely chosen one that doesn’t match the pre-requisites. Find your program either by inserting the disk and navigating to your computer menu or by going into your downloads and double clicking on the program. Select language and read through the agreement. You must accept the terms to move forward. Select an installation directory. Clicking next after you accept the terms will automatically select your default locations for your installation directory. You’re ready to install. You will be asked if you’d like to create a desktop icon and then you’ll see a final confirmation asking if you’re ready to install. Once you confirm, your installation will be completed in the next couple minutes.
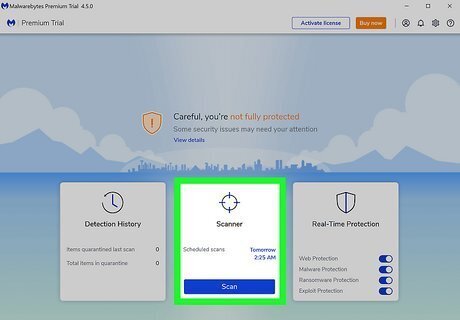
Run a threat scan. Open your anti-malware program. The home screen will have an option across the top that says “Scan.” Click this. Up to three scan options will pop up. Choose the first level, Threat Scan, for the most comprehensive scan. It scans all of the places that malware is known to hide.
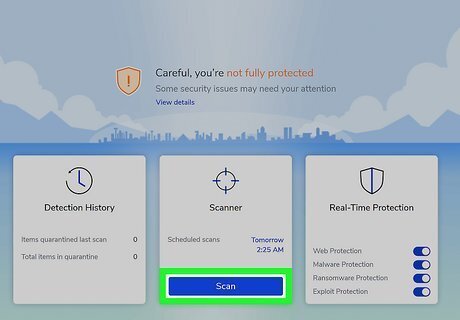
Scan now. When you choose which scan you wish to run, a screen will pop up with all of your programs listed in a menu. Beneath this menu, there will be a button that says Scan Now. Click this button. This scan can take a good about of time to perform. You can watch your scan progress by keeping the program open. You can pause the scan at any time by clicking the button at the bottom of your progress screen.
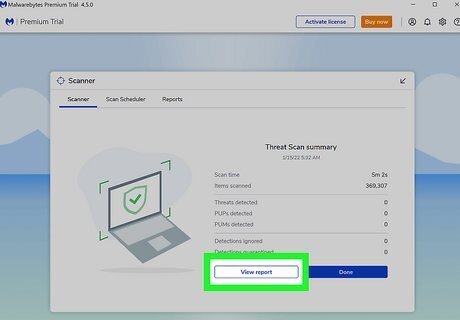
Examine your scan results. If your computer has not been hacked, has no malware, and no other threats, your scan will display no detected threats. If there are threats, it will list them and you decide where to go from there. Most anti-malware programs will list the threats by severity. Red will represent malware, whereas yellow often represents items that are potential danger. Remove malware to protect your computer. It is up to you which programs to keep. Select the boxes that you wish to remove. The programs listed will be next to a box. Check them and then click “Remove Selected.” Once the removal is done, you’re scan will tell you that it was quarantined.
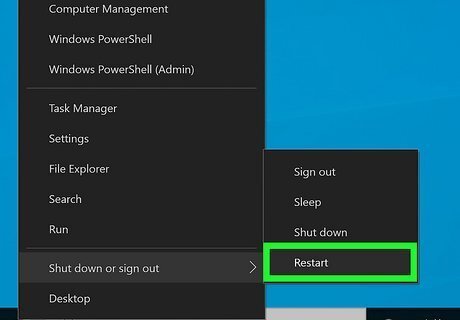
Restart your computer. To ensure that the threat removal process is complete, you need to restart your computer. If you choose to wait, you will be reminded regularly that you need to restart it.
Using a Firewall
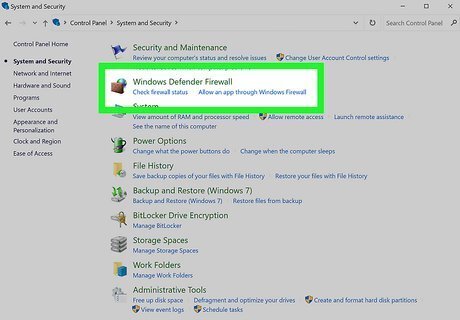
Use Windows firewall. A firewall is a network security system that monitors and controls incoming and outgoing network traffic. This helps screen out hackers, viruses, and worms that are trying to reach your computer over the Internet. Windows has built firewall protection into the program since 2001. It was built to specifically protect your system from outside attacks.

Add a third-party firewall. Because your built-in firewall only protects from outside attacks, you’ll want to download a third-party firewall. This will help protect your computer from local programs that are abusing your network connection. There are many no-cost firewalls that will work on multiple PCs: Kerio Personal Firewall 2, Outpost Firewall Free, Sygate Personal Firewall 5.1, and Zone Labs’ ZoneAlarm 3.7 are four solid free firewalls. These can be found online simply by searching their names. The free download option is on the homepage for each of the programs.
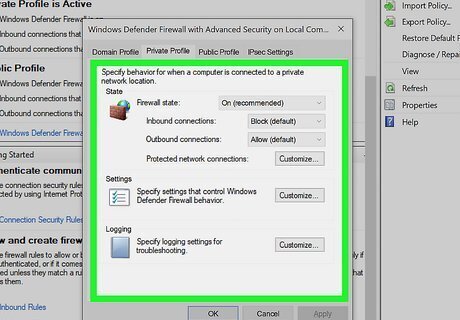
Disallow networks to browse. Firewalls have a default setting. This setting allows other PCs on the same network to browse. However, they won’t be able to access your files and printers. You can enable this by right-clicking the firewall’s system tray icon. Choose options, and then Network Neighborhood. Select the interface you use to connect in the drop-down list that appears. Uncheck the box next to “Allow others to share my files and printer(s)” and then click OK. Now your computer is safe from local and outside attacks.
Blocking Java
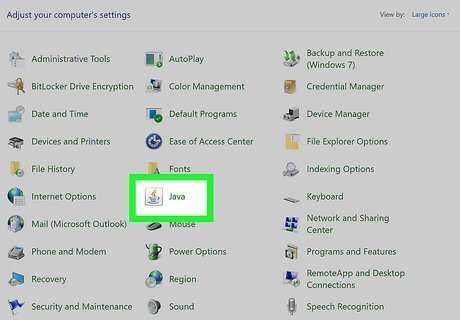
Disable Java. This is a program that was originally created to help run programs with ease from any Java-supporting platform. Instead, it has turned into an attack vector for hackers. Although some programs still use Java, if you don’t absolutely need it, disable it.
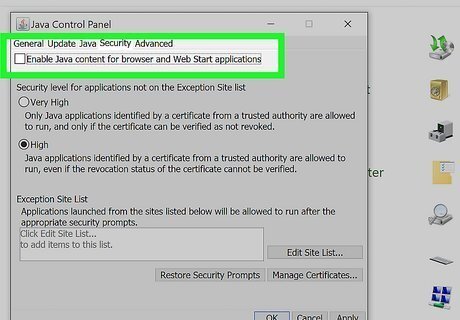
Open your control panel. From here, launch the Java app (it looks like a steaming coffee mug). When you open the app, it will have a similar set up to your settings menu—there will be tabs across the top. Choose the tab that’s labeled “Security.” Find the single check box. This will be titled “Enable Java content in the browser.” Un-check this box. Click OK. Now you’ve disabled Java.
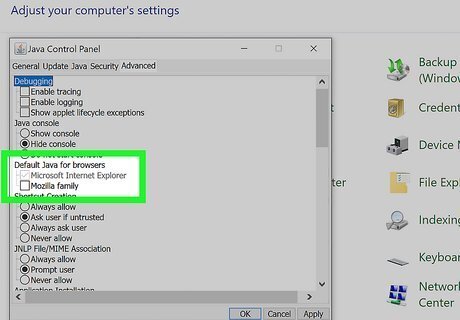
Keep Java in one browser. If you need Java for work or to run a certain program that you can’t live without, you can enable it in a single bowser. To do this, re-launch the Java app. There will be a tab on the top that says “Advanced.” Within this tab, you’ll see and item titled “Default Java for browsers.” A list of your browsers will appear when you click to expand “Default Java for browsers.” The list will have boxes next to them. Check the boxes next to a browser if you wish to run Java in that browser.
Changing Your Router Settings
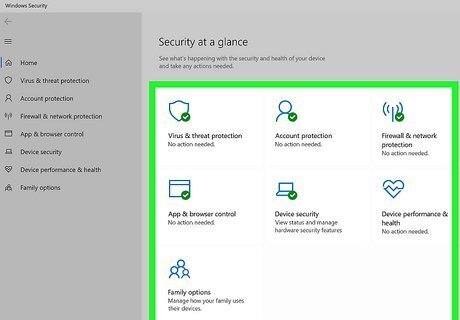
Change the security settings. This will help protect your computer by making it more difficult for hackers to access it through your Wi-Fi. Even if you have a password set up, this will further aid the protection of your computer. Keep your router up-to-date so it can protect you from known vulnerabilities.
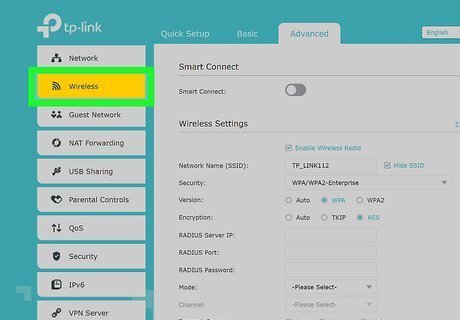
Find the “Wireless Security” page. This will be in your wireless settings, under the tab that says “Wireless Security.” Don’t choose the tab that says “Security,” that’s for other settings. If you don’t have a password, set one up here. Don’t make it a weak password. It should include non-dictionary words, special characters, and numbers. Write this password somewhere that you’ll remember it.
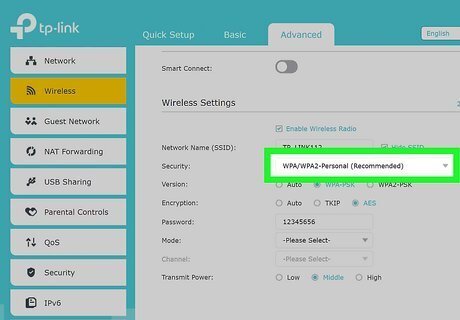
Change your security mode. There will be a dropdown menu next to “Security Mode.” Click this and scroll to WPA2 personal. This home security system is much more difficult than the standard security system to crack. (The standard is the WEP).




Comments
0 comment