
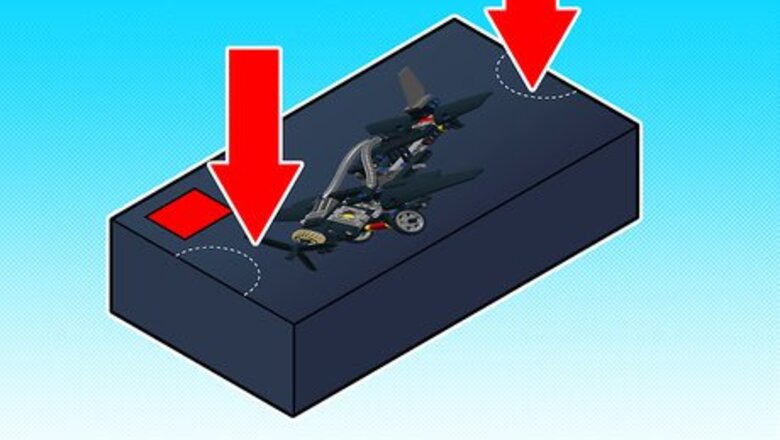
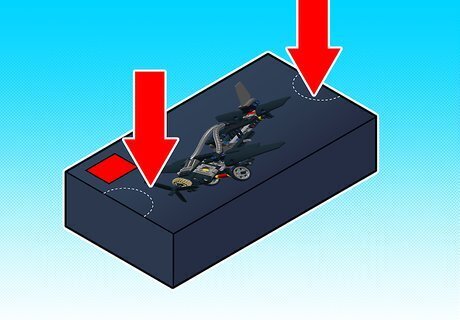
Open up the Technic model box. There is a line designating (on one side of the box) where you must tear/pull apart the box. Rip only at these seems/lines. (They are slightly perforated on these lines.)
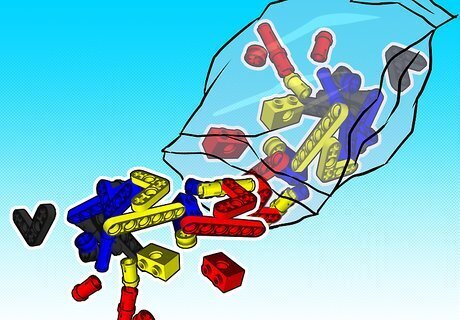
Open each package containing the pieces to the model.
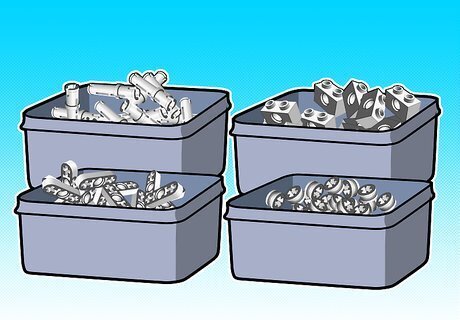
Separate each part into several bins or piles (according to color and/or piece type). Use either a very large unclutter table or Cool Whip containers to temporarily store the unused pieces. Technic pieces are styled into several types of pieces which include Bricks are just like any other Lego-piece. Bricks don't play too big of a role in Lego Technic models however.Assemble a LEGO Technic Model Step 3Bullet1 Version 2.jpg Pins help join and make the piece rotate to make the model move and connect one piece to another.Assemble a LEGO Technic Model Step 3Bullet2 Version 2.jpg Beams are mainly decorative pieces, however, they do play a key role in making the model "come alive".Assemble a LEGO Technic Model Step 3Bullet3 Version 2.jpg Bushes and joints also help secure axles to their associated pieces.Assemble a LEGO Technic Model Step 3Bullet4 Version 2.jpg Power and transmission systems vary by model, however, just like on an automobile, they provide the necessary "get up and go" "juice" to perform the models' movement (if they need to be powered)Assemble a LEGO Technic Model Step 3Bullet5 Version 2.jpg Chains and pulley's are also a necessary item and connect the motor to the transmission.Assemble a LEGO Technic Model Step 3Bullet6 Version 2.jpg Levers and links vary by puzzle type. So have them, and some don't. Some are colored differently. They all work the same, but their length may differ.Assemble a LEGO Technic Model Step 3Bullet7 Version 2.jpg
Bring out the instruction books specific to the model version you'd like to assemble. Each Technic model has two ways to create two different and distinct models, be sure to take the correct book or books for that specific style. Also, be sure to retrieve all the books that go with the model from the product box.
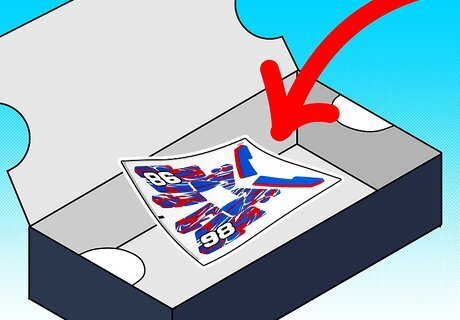
Put away any other pieces that were contained in the box to the side. This can include any sticker sheets or what-not. In the mere chance you would want to reassemble the model the opposite way, you'll need the other pieces.
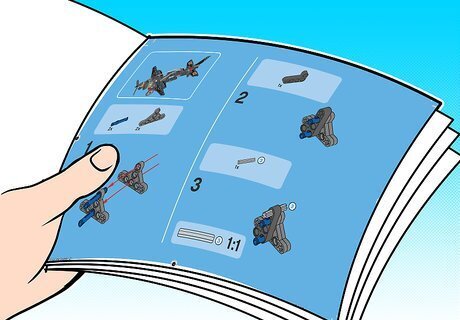
Open the first book to the first page containing the beginning of the steps. Although the "What you'll need list" at the front of the book helps, sometimes this info can get redundant when you've put together many models, since you'll know exactly what each piece will be able to conform to.
Look at the step. You'll see a listing of parts by their part number (if necessary), quantity, color and shape. Bring out only these pieces you'll need from the bin or pile.
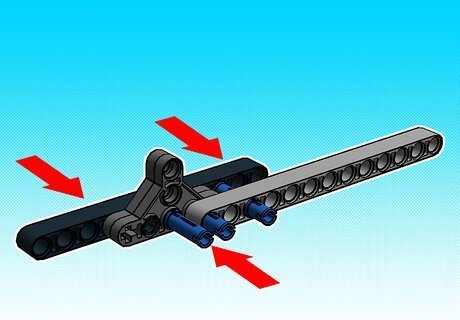
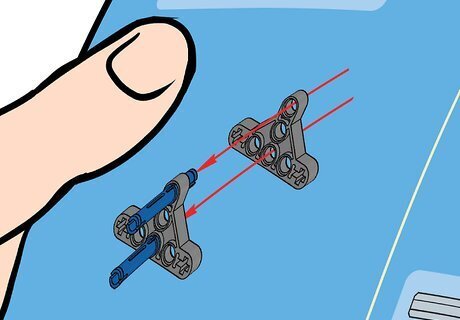
Use the step-graphics contained in the booklet as a guide. Attaching the right pieces in the right order in the correct orientation is the key to correctly assembling a Lego Technic model. For some often-times confused pieces, there are numbers in a circle on the back side of the piece that correspond to the number in the book.Assemble a LEGO Technic Model Step 8Bullet1.jpg
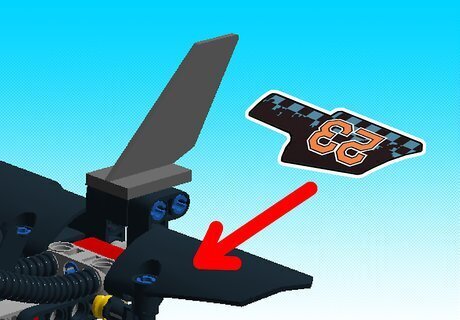
Place any stickers on the pieces as they are required. Be sure to match the stickers to the correct piece (by the piece number, if necessary)
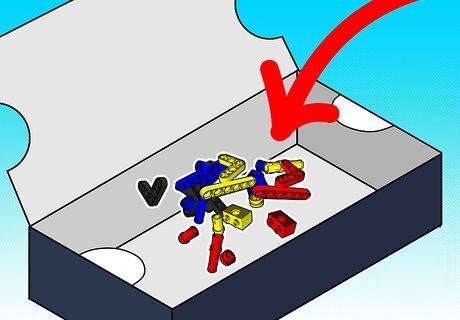
Realize that, at the end of the puzzle, you won't have used all the pieces. But you will have used up quite a grand majority of the pieces.Keep the remaining pieces to the model nearby (until you've decided to reassemble the puzzle the opposite way. Try to keep all the booklets together with these pieces.Assemble a LEGO Technic Model Step 10Bullet1.jpg
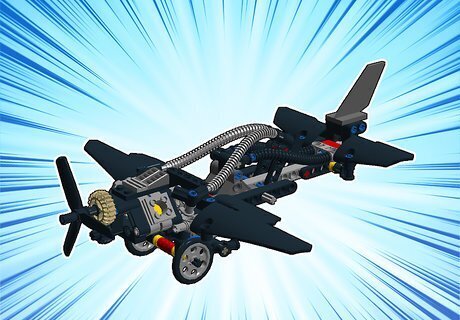
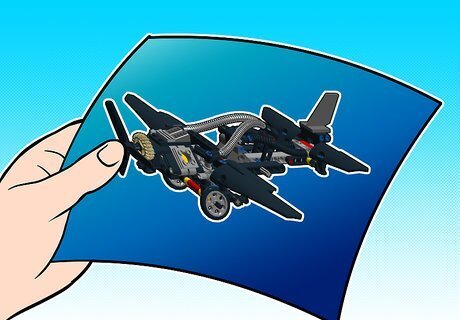
Display your completed Lego Technic 'masterpiece'/model. Show off your "little piece of perfection" to people.


Comments
0 comment