
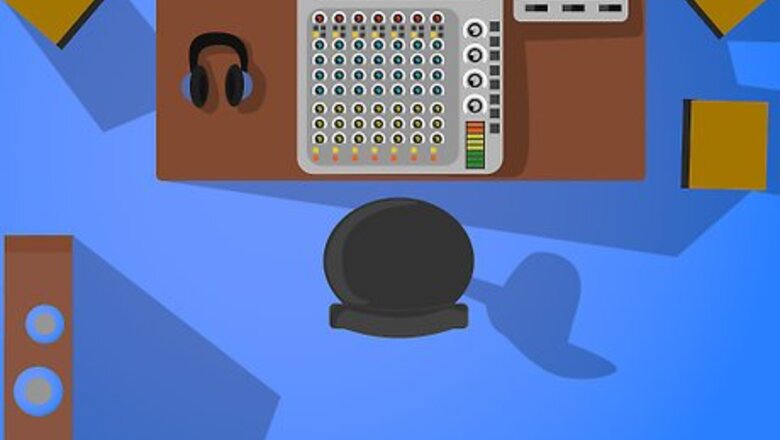
Before we get to the step-by-step portion it is necessary to understand the basic layout of a soundboard. A mixing board has two main sections: the input section and the output or master section.
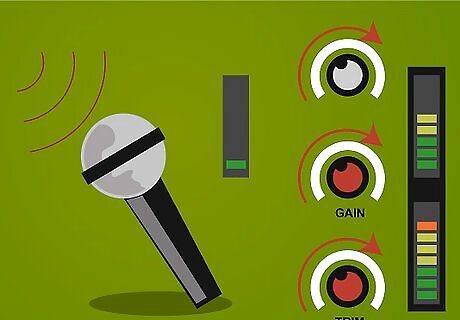
The input section is made up of a number of separate channels, there can be anywhere from four channels on a mixing board to upwards of thirty-two. Each channel consists of a set of inputs, on the back of the board and a corresponding set of controls which together are called a channel strip. A channel strip generally consists of a gain or trim control which controls the volume at the first stage as the signal enters the desk before any processing can or routing be done a channel fader which controls the volume after the processing; one or more auxiliary sends, which function like faders except they send to alternate outputs on the soundboard, which are used for effects such as reverb or echo and for monitor speakers; a set of Equalizer or EQ controls which control the tonal quality of the bass and treble and often mid-range as well bus or group assignment buttons that send the signal to alternate bus faders and outputs in the master section of the board.
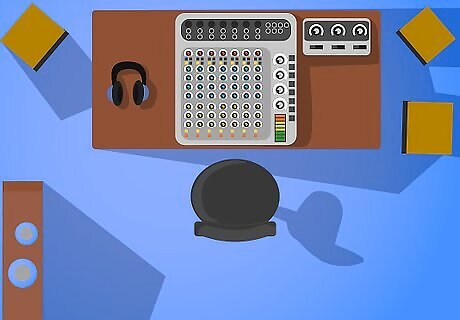
The master section controls the output of the mixing board to various different outputs on the back of the desk. The output section of a sound board generally consists of a master fader, which controls the volume of the main outputs on the board in other words it's the master volume for the whole system's auxiliary masters which control the volume of the auxiliary outputs auxiliary returns which are used to bring the signal from a reverb unit or other outboard effect into the mix without having to use up a channel strip bus faders which are alternate master faders for bus outputs which are used for alternate speakers, recording devices, and for grouping channels together.
- Know the difference between the parts of a soundboard: the master section and the input section.
- Choose a good location for your speakers and amps.
- Label your soundboard so you know what buttons control which sounds.
Chose a location for your soundboard. This is important because sound volume decreases as you get further away from the source of the sound and the way that sound reflects off surfaces in the room; you want to be in a place where you are far enough away from the speakers that you don't have sound blasting directly in your face all night, but close enough that you don't end up turning the mix up way too loud because you can't hear it at the back of the room. You will also need to consider the length of your mic cables and the location of the electrical outlets in the room.
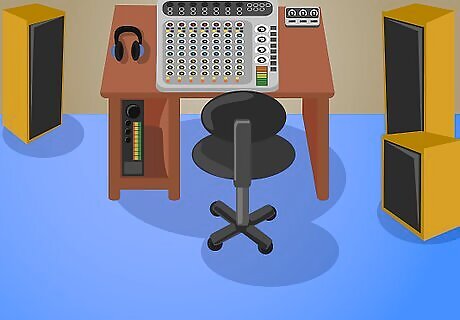
Set your speakers and power amps in place.
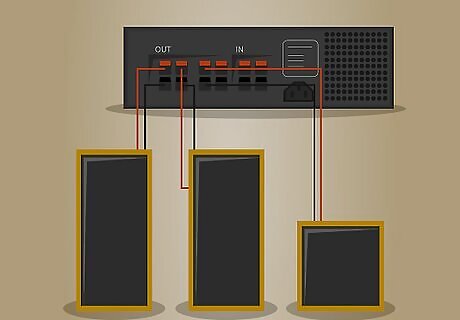
Plug in your speakers. Connect cables from the Output jacks on the power amp to the 'Input' jacks on your speakers. Note: If you have powered speakers (speakers that have a power amp built into them) you can treat all references to power amps as referring to the speakers themselves, as the amp and speaker are already connected.
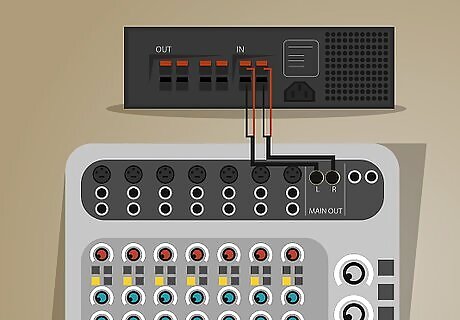
Plug in your Power Amps. Connect cables from the Main Out jacks on the mixer to the 'Input' jacks for your power amp (or powered speakers).
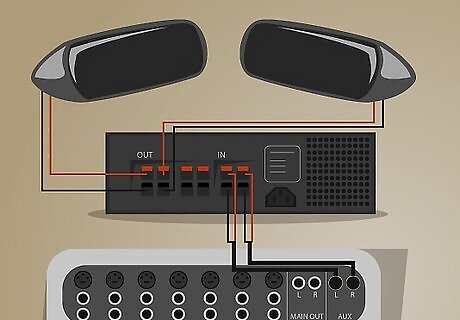
Connect your monitors. If you have monitor speakers on stage for the musicians to hear themselves connect cables from the Auxiliary Output jacks (nearly always labeled Aux Out) on the soundboard to the input on the power amp for your monitors. Note: Most soundboards have more than one auxiliary output so make sure to keep track of which ones you use for which amp/speaker.
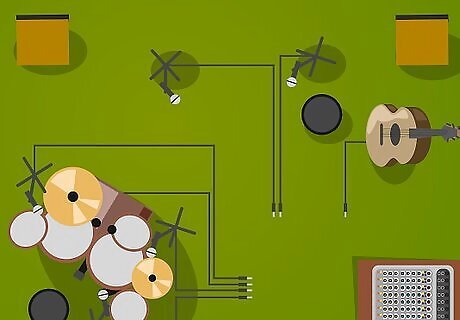
Build your stage setup. Set up your microphones and stands as needed, along with any DI (direct Input) boxes you need for instruments to plug directly into the PA system (such as an acoustic guitar, or a keyboard).
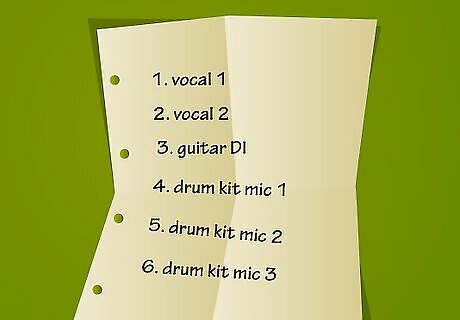
Make an Input List. Write down a numbered list of each mic or DI box on the stage, from left to right when standing at the desk. For example: 1. Guitar DI 2. Keyboard DI 3. Kim's Vocal Mic.
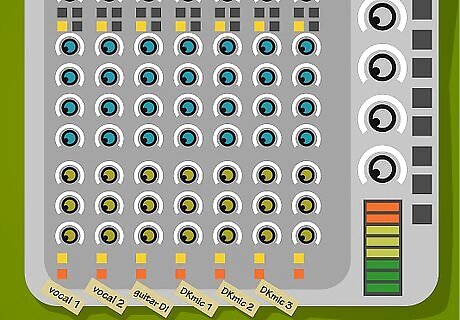
Label the soundboard. Take a strip of painter's tape and place it on the soundboard just below the faders, use a marker to copy your input list onto the tape so that each fader has one item under it (you may have to use abbreviations in order to fit these labels in the space under each fader, write Vox instead of Vocal Mic for example).
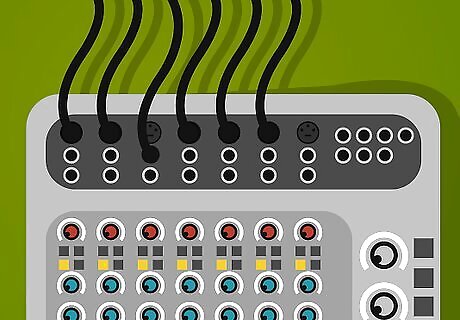
Cable your mics. Connect your mic cables to each mic and DI box using your Input List from step 7 as a guide, in our previous example you would connect a cable from Input 1 on the soundboard to the DI box for the guitar Input 2 connects to the keyboard DI and so on. Note Many small format soundboards allow you to connect a 1/4 instrument cable directly to the mixer without the need for a DI box. This jack would be labeled Line In not to be confused with a jack labeled Inst which would stand for Insert Point not instrument.
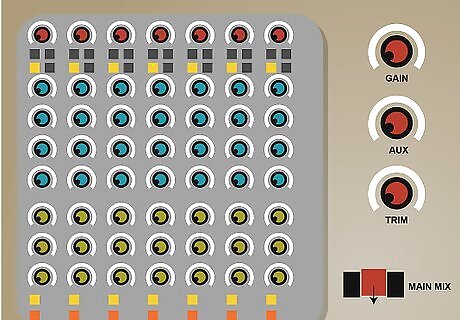
Zero the board. Make sure all of your faders are down as well as your auxiliary sends and Gain or Trim controls on each channel, if the soundboard has 'bus assignment' controls make sure that the 'Main Mix' button for each channel is pressed down and all other bus assignments are up.
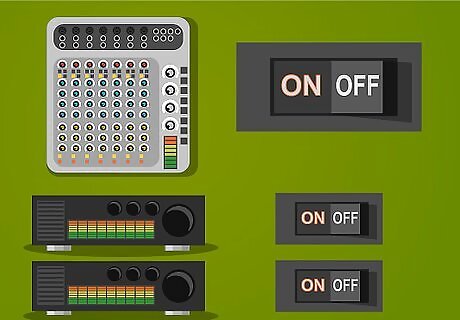
Power on your soundboard first and then your power amps.

Turn on your outputs. Bring the Master Fader up as well as the master controls for any auxiliary sends you are using. You don't want to bring these controls all the way up, if there is a 0 or unity mark next to your master fader start with it just below that.
Check your sound. Have somebody speak into one of your microphones while you very slowly move that microphone's corresponding fader up. If the fader is up and the volume is too quiet, slowly raise the Gain or Trim control for that channel until you are satisfied with the volume. Do the same for each microphone and DI box until you have verified that everything is working.
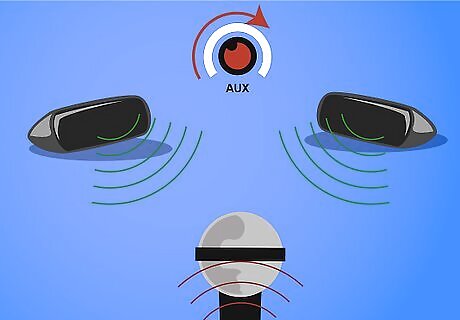
Check your monitors. While someone is speaking into a vocal mic slowly raise the Auxiliary Send control on that channel for the auxiliary send to which you've connected your monitors (Aux 1 probably) and have them let you know when they can hear themselves through the monitor speakers. Generally, the volume of the monitors should be determined by the musicians as they are the ones listening to them.


Comments
0 comment